Gepard GPR 3D Tutorial Part 3
July 01, 2020
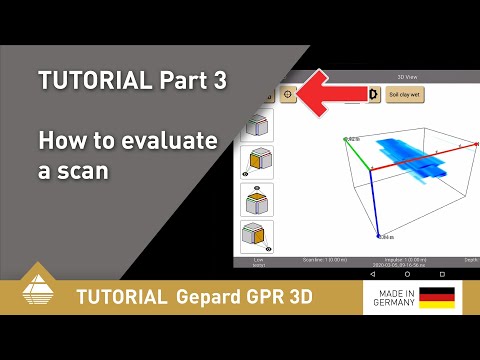
In this tutorial we take a look at one of our measurements that we performed with the Gepard GPR. Since we saved our last measurements, we can analyze these quite easily at home in detail.
Learn how to:
- check if you have chosen the right scan properties
- choose the correct soil type
- change contrast and saturation
- rotate the scan image
- use the 3 coordinate axes for orientation
- use the 4 quick views
- determine position and depth of the detected object
- read the information in the status bar
- switch between 2D and 3D view
- export the scan into various formats

March 26, 2026
Paraguayan Police Relies on OKM Technology for Subsurface Detection
Paraguayan police use OKM GPR technology to detect underground structures.
March 01, 2025
Field Training with OKM Americas: Gepard GPR in Action
In February 2025, OKM Americas visited a customer in Pittsburg, California, for a full-day training session. The goal was to show ...
January 29, 2025
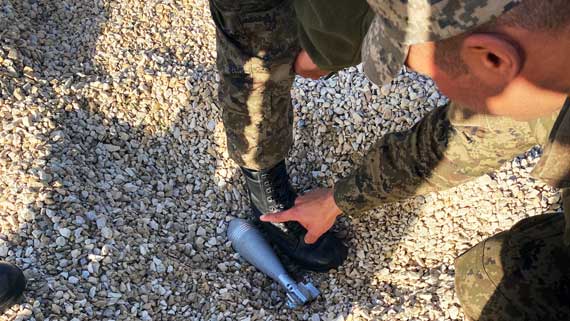
From Sand to Mortars: Frank Casser Trains Tunisia’s Military on Ground Penetrating Radar
Frank Casser trains the Tunisian military on Ground Penetrating Radar (GPR), showing the engineers and specialists how to detect mortars ...